Whatsapp
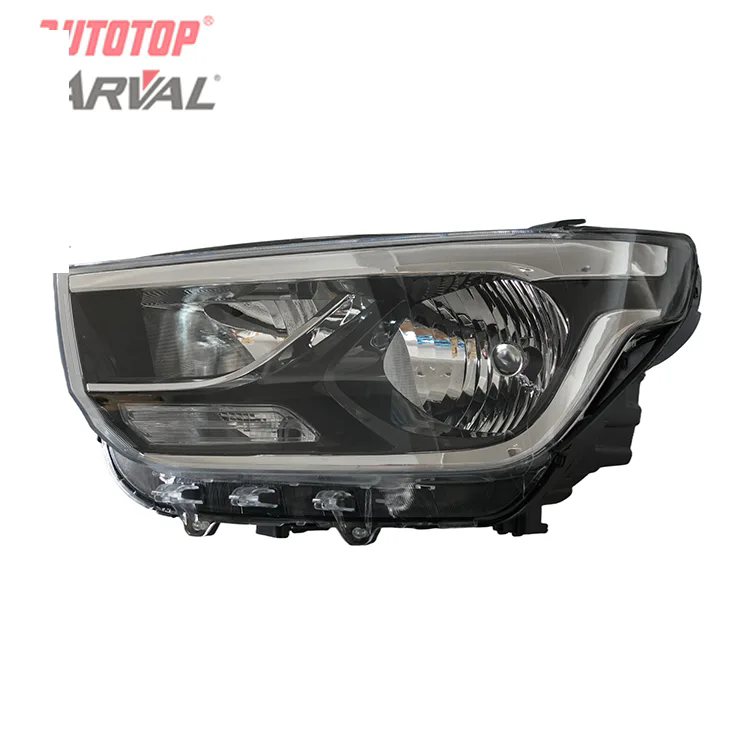
Headlight Restoration: Save Money by Fixing Yellowed Lenses Yourself, and you do not need advanced mechanical skills to complete this common car maintenance job. Yellowed, cloudy headlight lenses are a widespread headache for drivers. Long-term UV radiation, road dirt and repeated temperature changes break down the protective coating on polycarbonate headlight covers. The lenses slowly turn yellow and hazy, reducing light projection at night and hurting your driving safety.
Many vehicle owners rush to order brand-new headlight assemblies once they notice yellowing. New headlight parts and professional installation often come with a high price tag. This is exactly why Headlight Restoration: Save Money by Fixing Yellowed Lenses Yourself has become such a popular DIY solution among car enthusiasts and daily commuters. Before you invest in expensive replacement assemblies, take time to check whether your headlight damage is only surface oxidation.
Assess the condition of your lenses
First, assess the condition of your lenses. If the yellow haze sits only on the outer surface without deep cracks or holes, restoration will work well. Heavy cracks or melted plastic cannot be fixed by polishing and will require new lenses.
Prepare your supplies and mask the bodywork
Prepare your supplies ahead of time. Grab painter’s masking tape, car wash soap, microfiber towels, wet sandpaper with multiple grit grades, polishing paste and long-lasting UV sealant. Mask the car paint and plastic trim around headlights carefully to prevent accidental scratches. Wash the lens fully to remove dust, bug residue and road grime. Any leftover particles may create scratches in the sanding phase.
Wet sand the oxidized lens
Start wet sanding the lens. Keep the surface and sandpaper wet continuously. Use medium grit sandpaper to strip away the yellow oxidized outer layer. Gradually switch to finer grit paper to smooth the scratches left from coarse sanding. When all yellow stains are gone, rinse the lens thoroughly and dry it using a lint-free microfiber towel.
Polish and apply UV sealant
Apply polishing compound next. Rub the polish evenly over the lens in gentle circular movements. This step eliminates faint haze and helps the plastic regain transparency. Wipe all polish residue off once finished. A common mistake many DIYers make is skipping UV sealant. Without this protective coating, your freshly restored headlights will turn yellow again within months. Apply the UV sealant following the manufacturer’s instructions and allow adequate curing time.
The whole DIY restoration work for two headlights generally takes 1–2 hours. The results differ depending on how badly the lenses were oxidized, but most drivers gain brighter light output and cleaner lens appearance. Headlight Restoration: Save Money by Fixing Yellowed Lenses Yourself offers a practical low-cost alternative compared with buying complete headlight assemblies.
Whether you are preparing your car for resale or simply want safer night driving, headlight lens restoration is a worthwhile project. Try this DIY method before paying for pricey new headlight components.

Master
AUTOTOP