News

Don’t Replace Expensive Headlights: How to Repair Cloudy Lenses

2026-10-17 0 Leave me a message
Cloudy Headlight Lens Restoration

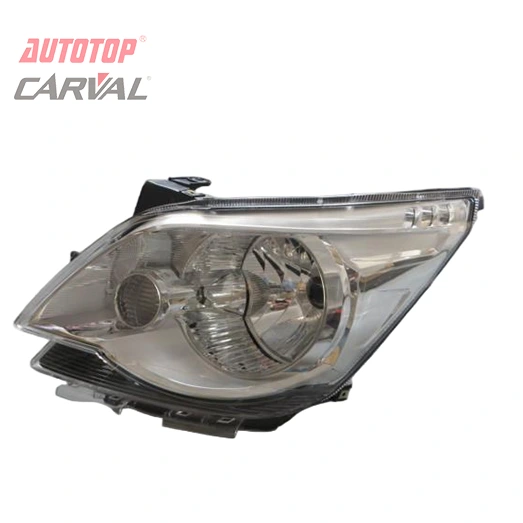
Many car owners face cloudy, yellowed headlight lenses over years of driving. When headlights turn hazy, the first suggestion from many repair shops is to purchase brand-new headlight assemblies. However, replacement often comes with a high price tag. In most cases, you do not need to replace expensive headlights; you can repair cloudy lenses with simple tools and careful work.

1

The cloudiness usually comes from UV radiation breaking down the factory protective coating on polycarbonate plastic. Road grime, acid rain and temperature swings speed up the oxidation process. This issue sits mostly on the outer surface of the lens, not inside the headlight housing. Before starting any repair, check whether the lens only has surface haze. If there are deep cracks, broken housing or heavy water trapped inside the assembly, replacement may still be necessary. For surface oxidation, lens restoration is a practical alternative.

Step 1
2

Prepare the workspace and mask bodywork

Begin the project by preparing your workspace and protecting surrounding bodywork. Wash the headlight thoroughly to remove dirt and road debris, then use painter’s tape to mask off the paint, trim and rubber seals next to the headlight. This keeps sandpaper and polishing compounds from scratching your car paint.

Step 2
3

Wet sand the oxidized surface

For moderate to heavy cloudiness, wet sanding delivers the most reliable outcome. Use sandpaper in progressive grits, starting from a coarser grade and moving to finer options. Keep the lens and sandpaper wet during the whole process, and sand in steady horizontal strokes. Rinse frequently to wash away oxidized residue. Stop sanding once the yellow haze disappears and the lens shows a uniform matte finish.

Step 3
4

Polish the lens to restore clarity

After sanding, move to polishing. Apply plastic polishing compound to a microfiber pad, then work over the lens in gentle circular motions. Buff off residue with a clean cloth. At this stage, most of the foggy look will disappear.

Step 4
5

Apply UV protective sealant

One critical step many DIYers skip is UV sealant. Without a fresh protective coating, the lens will turn cloudy again within months. Once the lens is fully clean and dry, apply a thin, even layer of UV-resistant sealant. Follow the curing time recommended by the product maker. This new coating shields the plastic from sunlight and slows future oxidation.

6

For mild, light cloudiness, you can try simpler cleaning methods first. Household polishing paste or dedicated headlight cleaning kits may bring back enough clarity without wet sanding. Test small areas first so you do not accidentally damage the original coating.

7

Knowing when to repair versus replace saves hundreds of dollars. Headlight restoration also improves light output and nighttime visibility, which supports safer driving. Regular maintenance can extend the restored lens life. Wash headlights regularly and avoid prolonged exposure to harsh sunlight where possible.

8

Many vehicle owners successfully complete this repair in a few hours. With basic supplies and patience, you can restore transparency without ordering costly new headlight assemblies. Before you commit to buying replacement headlights, inspect your lenses and try this proven repair method for cloudy headlight lenses.

Need headlight parts or professional restoration advice? Contact Us
Related News
Leave me a message
 
X
We use cookies to offer you a better browsing experience, analyze site traffic and personalize content. By using this site, you agree to our use of cookies. Privacy Policy
RejectAccept