Whatsapp
Many vehicle owners encounter foggy lenses, tiny water droplets or trapped dampness after car washes, rainy days or temperature changes. If you are looking for practical ways to fix condensation & moisture inside car tail lights, this step-by-step guide covers common causes, simple DIY solutions and effective prevention tips suitable for most vehicle models.
First, it is important to distinguish normal condensation from problematic water leakage. Minor fogging that disappears within hours is a common physical phenomenon due to temperature differences. Tail light assemblies feature ventilation structures to balance internal and external air pressure. However, persistent moisture, accumulated water pools and long-term fogging that never clears up indicate sealing or structural issues that require timely repair.
The main causes of tail light moisture are quite consistent across most vehicles. Aging or deformed rubber gaskets often create tiny gaps around the lens housing. Small cracks on the tail light cover, loose bulb sockets and blocked ventilation holes also allow humid air to penetrate into the assembly. Over time, accumulated moisture may affect bulb service life, damage internal circuits and reduce tail light clarity, impacting daily driving safety.
Dry mild condensation first
To safely fix condensation & moisture inside car tail lights, start with simple drying treatments for mild cases. Remove the tail light bulb cover and take out the bulbs to open up internal air circulation. Park the car in a dry and well-ventilated area, allowing natural air flow to evaporate trapped moisture. Many users also place silica gel packets inside the housing for one day to absorb residual humidity, which delivers obvious drying results.
Locate and seal leakage points
After drying completely, locate and seal the leakage points thoroughly. Inspect the outer lens for fine cracks and check whether the surrounding sealing gasket is aging or misplaced. For small gaps and slight cracks, apply professional automotive-grade waterproof sealant for reinforcement. If the gasket is severely deformed or broken, replacing a new dedicated sealing ring offers a more durable effect. Clearing blocked ventilation holes is also essential to avoid repeated moisture accumulation.
Replace assembly for severe damage
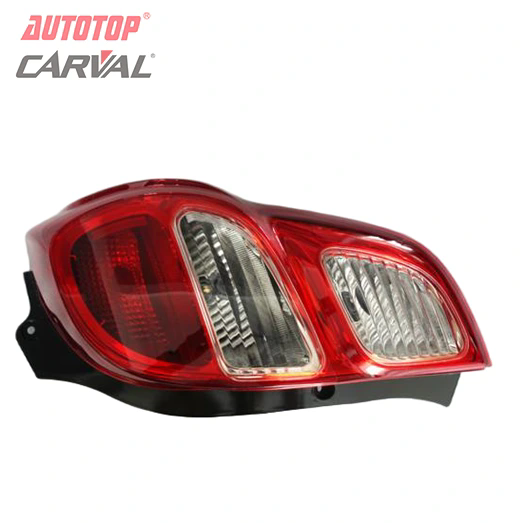
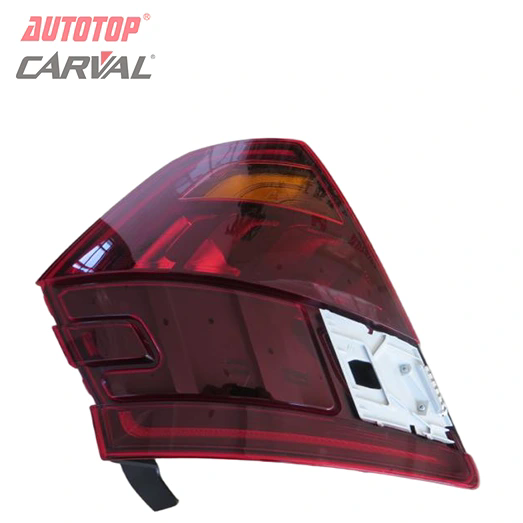
For severe situations with obvious water pooling or cracked lamp housings, simple sealing cannot solve the issue fundamentally. In this case, replacing the tail light assembly is a reliable solution. High-quality aftermarket or standard OEM tail light parts feature precise fitting and stable sealing performance, effectively preventing moisture from entering again.
Regular maintenance can greatly reduce tail light condensation problems. Avoid using high-pressure water guns to flush tail light edges directly during car washing. Check sealing conditions regularly, especially before rainy seasons. Timely cleaning and routine inspection help maintain dry and clear tail light lenses all year round.
In short, most mild tail light condensation can be fixed through drying and resealing. Only damaged structural parts require component replacement. Learning how to fix condensation & moisture inside car tail lights helps vehicle owners solve common light fogging issues independently, extend tail light lifespan and maintain stable vehicle lighting performance.

Master
AUTOTOP