News

Dim Tail Lights Are a Safety Risk: How to Restore Brightness

2026-10-27 0 Leave me a message
Dim Tail Light Repair Guide

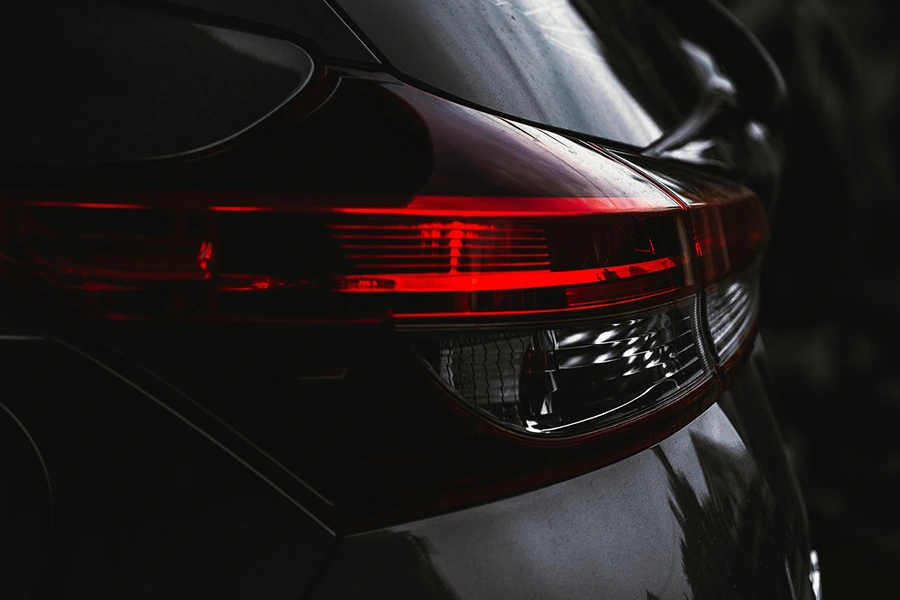
Driving at night or in wet weather relies heavily on clear, bright tail lights to communicate your position and braking intent to drivers behind you. Dim tail lights are a safety risk, and many car owners do not notice the gradual loss of brightness until a close call or a failed safety inspection. If you want practical ways to restore brightness to your tail lights, this guide breaks down common issues, simple DIY checks and reliable fixes for most passenger vehicles.

1

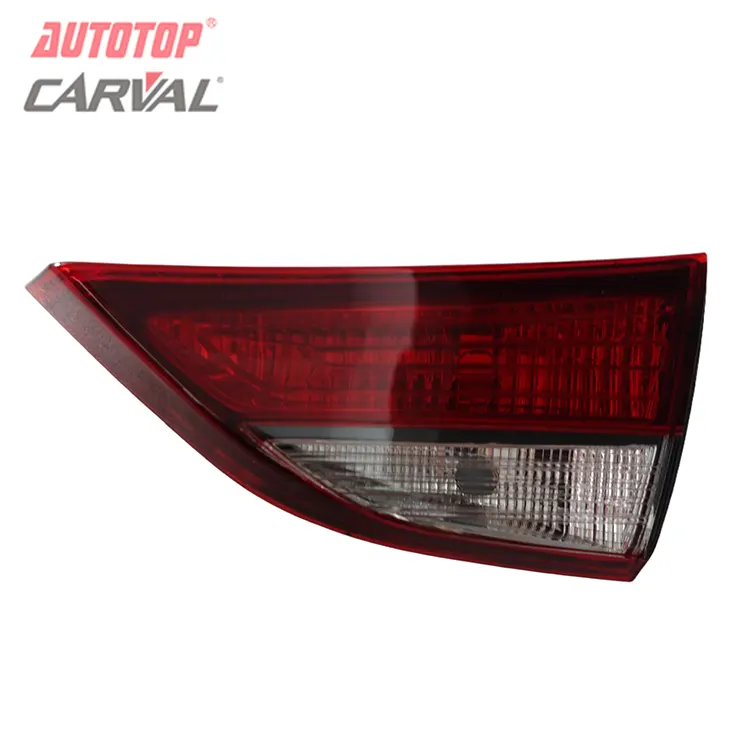
Many different issues can make tail lights look weak. The most frequent culprit is an aging bulb. Over time, halogen bulbs lose output as the filament wears down, while older LED tail lights can suffer from degraded diodes. Next, corrosion in the bulb socket or ground connection creates extra resistance. Road salt, rain and moisture get into the housing, oxidating metal contacts and cutting down the power that reaches the light. Cloudy, scratched tail light lenses also block light, even when the bulb works normally. Condensation trapped inside the assembly can scatter light and create a dull, foggy appearance.

Step 1
2

Compare sides and test the bulb

Start troubleshooting with the fastest, simplest steps first. Park on level ground, turn on your parking lights and have a helper stand behind the vehicle to compare brightness on left and right sides. Swap the bulb from the dim side to the working side if the socket style matches. If the problem moves to the other side, the bulb is the issue, and replacement will usually bring back normal brightness. Always reference your owner’s manual for the correct bulb part number.

Step 2
3

Inspect the socket, wiring and ground

When a new bulb still looks dim, inspect the socket and wiring. Turn power off before touching any connectors. Look for green or white corrosion on metal pins. A small wire brush and electrical contact cleaner can remove light oxidation. Wipe contacts dry completely and apply a thin layer of dielectric grease to slow future corrosion. Also check the ground bolt connected to the chassis; loose or rusted ground points are a very common reason for low tail light brightness.

Step 3
4

Polish cloudy tail light lenses

Cloudy tail light lenses can be polished, similar to headlight restoration. Wash the lens thoroughly to remove grit that can scratch the plastic. Use a fine polishing compound or tail light restoration kit, working in gentle circular motions. After polishing, rinse and dry, then add a UV protective coating. This slows sun damage and keeps the lens clear longer. If the housing has cracks or broken seals that repeatedly let water in, polishing will only help temporarily. In that case, replacing the tail light assembly may be the most practical long-term choice.

5

It is important to know when to stop DIY work. If you find melted wiring, persistent short circuits or complex integrated LED circuits without serviceable bulbs, stop testing and consult a qualified auto technician. Messing with damaged wiring can create fire risks.

6

Routine maintenance helps you avoid dim tail lights before they become dangerous. Check rear lighting every month and before long trips. Inspect lens seals after washing the car or driving in heavy rain. Keep spares of your vehicle’s correct tail light bulbs on hand.

7

Taking time to fix dim tail lights protects you and other road users. Most fixes only need basic hand tools and a small amount of time. Whether you replace a bulb, clean corroded contacts or polish cloudy plastic, these steps help you restore brightness and keep your rear lighting working as designed.

Need tail light bulbs, lenses or assemblies? Contact Us
Related News
Leave me a message
 
X
We use cookies to offer you a better browsing experience, analyze site traffic and personalize content. By using this site, you agree to our use of cookies. Privacy Policy
RejectAccept